 Depending on where you live, you may already be thinking about RV winterization. If you haven’t, now is the time to start! There are a number of things involved with getting your RV ready for winter storage, but the process doesn’t have to be complicated. When it’s time for your motorhome or coach to go into long term storage, we’ve got you covered with some things to remember.
Probably the biggest aspect of
winterizing your RV is making sure the plumbing system doesn’t freeze. Water must be removed from the lines and replaced with non-toxic antifreeze to keep ice from forming, which can expand and cause damage that is costly to repair. When draining the plumbing system, remember to empty the holding tanks, turn on the faucets, and flush the toilet until the water is emptied. Holding tanks may also need to be cleaned out with a wand. The water heater is drained after the holding tanks. Small amounts of water can still remain, so it’s a good idea to use low air pressure to blow out whatever is left. Turn off the faucets and close the drains before adding anti-freeze. Remember to use the non-toxic kind designed for RV use. The easiest way is to use a water pump converter, while also bypassing the water heater. Water heater bypass kits save you from wasting too much antifreeze. To make sure the antifreeze is getting through the whole system, turn on the closest faucet until you see antifreeze come out, then turn it off again. This step needs to be repeated for all other faucets and the toilet. A cup of antifreeze should also be poured down each drain. Appliances like ice makers or washing machines will have their own unit-specific instructions. RV antifreeze can still freeze at around 10 degrees, but won't expand like water. It should have a burst protection rating of -50 degrees to protect against particularly cold winters.
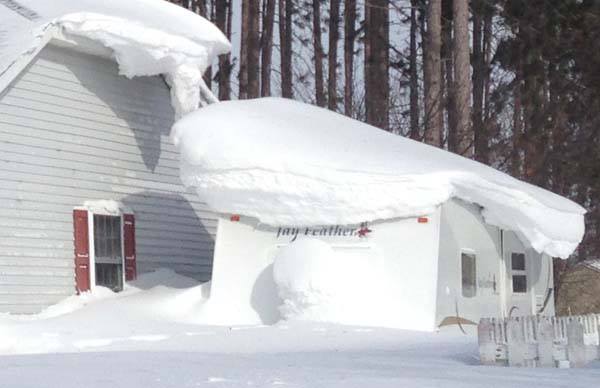
Now that the biggest step is complete, it’s time to prepare the rest of the RV. Things like keeping out moisture, dirt, and pests will save you from fixing costly mistakes come spring. To prevent dirt and moisture build-up, try to keep your RV away from trees. Check for cracks or tears along seams, especially along windows and the roof. Leave the fridge and cabinet doors open. Make sure your
RV cover is made with a breathable fabric, and use a non-electric dehumidifier inside to prevent mold and mildew. To keep out animals and insects, make sure all the food has been removed and any vents or openings are covered. Check the rest of the RV for any small holes an animal can get into. You can plug them with steel wool. Don’t dismiss any openings, as animals such as mice can get through a hole as small as a dime. Dryer sheets can deter mice as well. Keeping your RV off the grass helps too.
Other things to remember include removing the LP tanks and the batteries, if possible. The LP tanks should be full, and the batteries should have a complete charge with full water levels. Make sure your RV is parked on a level surface and make sure the wheels are chocked with the tires inflated and covered. Remove all electronics and take out batteries from things such as alarm clocks and smoke detectors. If you have a motorhome, service the engine much like you would with a car. Change the oil and filters, and top off all the fluids. You may want to photograph the RV inside and out for insurance purposes, especially if it is being stored away from your home. Make a note to check on your RV a few times over the winter to prevent unwanted surprises from popping up in the spring.
Things to Keep in Mind During RV Winterizing


